Y'all, I actually finished a sewing project. On the same day I started it.

If for some reason you can't download or read the instruction pages to make the pattern pieces, here's a quick run-through:
Make two 16" x 19" rectangles. Fold them in half lengthwise, to make 8"x19" rectangles.

 |
| Reversible vest - Cowboy side |
 |
| Reversible vest - Fireman side |
It's a little boy's reversible dress-up vest.
One side is a fireman's vest, and the other side is a cowboy vest.
Please don't think that I think this is only for boys. I'm sure little girls would love it, too! I would have adored the cowboy/girl side. It just seems that girls get all the fun dress-up sewing tutorials, so I was excited to make this for my fire-truck-loving little guy.
I made the vest from this tutorial by Fiskars' Australia/NZ website. Lisa Storms, the Fiskar-sponsored designer of the vest, gets credit for this original design. However, there aren't many photos of the process on the Fiskars site, so I've documented the sewing process in detail for the more visually-oriented among us.
I also had different ideas in mind for some of the embellishments, so mine looks different from Lisa's.
For me, this was a "Use What You Have" challenge. I wanted to make this without going to the store. I just kept repeating, "done is better than perfect!" Since I tend to stash craft items, this was a great way to use some of that stuff up.
First you will need to draft a quick pattern. You can use newspaper or freezer paper or whatever you have. I've made instructions that you can use to draft your own pattern pieces. Double-click on each of the two pages below, then right-click-save-as or drag it to your desktop.
*By the way - this vest is sized pretty flexibly. It seems like it would fit up to little boys size 6 or 7.
*By the way - this vest is sized pretty flexibly. It seems like it would fit up to little boys size 6 or 7.

If for some reason you can't download or read the instruction pages to make the pattern pieces, here's a quick run-through:

Make two 16" x 19" rectangles. Fold them in half lengthwise, to make 8"x19" rectangles.
On the open edge, mark 7" down from the top. Then mark the top 3" from the open side.

Use an 8" or 9" bowl to trace between the marks. This will give you your arm openings. Do this on both pattern pieces.


Mark 6" down the fold, and 2.5" away from the fold at the top. Draw a straight line between them and cut. This will give you the V neck.

You should end up with three pattern pieces that look something like this:

Why is there paint on my pattern piece? I'm not sure. It could be because I cleaned off my table - it was spotless - and fifteen minutes later it looked like this:


I used old t-shirts and they worked GREAT. The cotton knit is just perfect. If you used freezer paper, you can iron it on the fabric (shiny side down) and it will stick just enough for you to cut out the pattern easily.

For me, that was one red back + two red fronts AND one blue back + two blue fronts.
 |
| red front pieces |

Before you do any assembly, you want to embellish your pieces.
For the fireman vest, I used strips of yellow felt and some grey/silver iron-on hem tape, because I had it. You can buy reflective tape, if you want, or just use yellow ribbon. Whatever you have, it will work.

I just eyeballed it, honestly. I used fusible webbing (Steam-A-Seam or Heat-N-Bond) and then topstitched it.
For the cowboy side, I wanted some fringe, so I used some brown microsuede. You only need a scrap. I marked the top of the edge with some tape, and cut fringe up to the tape. That helped me have an even fringe. If you have a rotary cutter, use it! Someday, maybe I'll have a rotary cutter. For now, I have $1 scissors.

I also used some iron-on ink jet printer sheets that I had lying around. I used the ones for dark fabric. Read the instructions - for mine, I did NOT have to reverse the image. Here's a jpg I made that you can use:

 Here I'm ironing on the FIRE letters in my enormous kitchen. Ha.

The Fireman's vest is pretty simple - just the stripes on the bottom, and the iron-on decals.

OK, we're ready to sew this thing together.
Place the red front & back, right sides together, & sew the shoulder seams. Do the same with the blue.
Lay one side out, then place the other on top, right sides together.


OK! Now we're going to sew around the arm curve on each side. Don't sew down the sides!
Then sew the center front and neck. Don't sew the bottom or sides.
 I've marked where you sew in red. Technically, red lipstick from the Picasa app. You get the idea.
 You may want to tape the fringe out of the way. Stitch as shown above - armholes and front center only.
Next, you're going to turn the thing right-side out THROUGH THE SHOULDERS.
Yep, you read that right.
 Even with all my felt applique, it worked! Although I was glad the fabric had a little stretch. I don't think a stiff denim would work here, I'll be honest.
 Working it out...
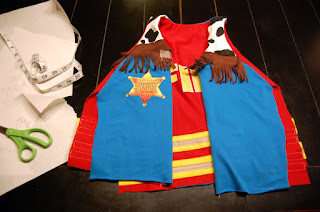 Right side out!
 Now, you're going to sew up the outside seams, right sides together.
Put the red front & red back right sides together, and maneuver the blue piece out of the way.
 Sew those red right sides together. When you get to the top where the blue starts, sew the blue right sides together.
 Red front to red back, blue front to blue back.
 finished side seams will look like this. Hopefully. I had to rip mine out once.

I stuck a little star on the center back. I have five packages of iron-on stars. Why? I do not know.
 The only thing left to do is turn your bottom hem under and topstitch it. If you change the thread & bobbin out to match the vest, you're a better person than I am.
 Taa-daaah!
 Seriously, so cute.

I might add a velcro closure. I might not.
The Shark is a 4T-5T, so you can get an idea of the size of the vest here. Of course, you could always make it a little bigger or smaller.
 Overall, a very successful experiment, and a serious stash-buster! I didn't go to the store once.
For the fireman vest, I used strips of yellow felt and some grey/silver iron-on hem tape, because I had it. You can buy reflective tape, if you want, or just use yellow ribbon. Whatever you have, it will work.

I just eyeballed it, honestly. I used fusible webbing (Steam-A-Seam or Heat-N-Bond) and then topstitched it.
 | ||
| After ironing, before topstitching |

I also used some iron-on ink jet printer sheets that I had lying around. I used the ones for dark fabric. Read the instructions - for mine, I did NOT have to reverse the image. Here's a jpg I made that you can use:

download the jpg, and print out at 8.5x11 size on your inkjet transfer paper, and you should be good to go!
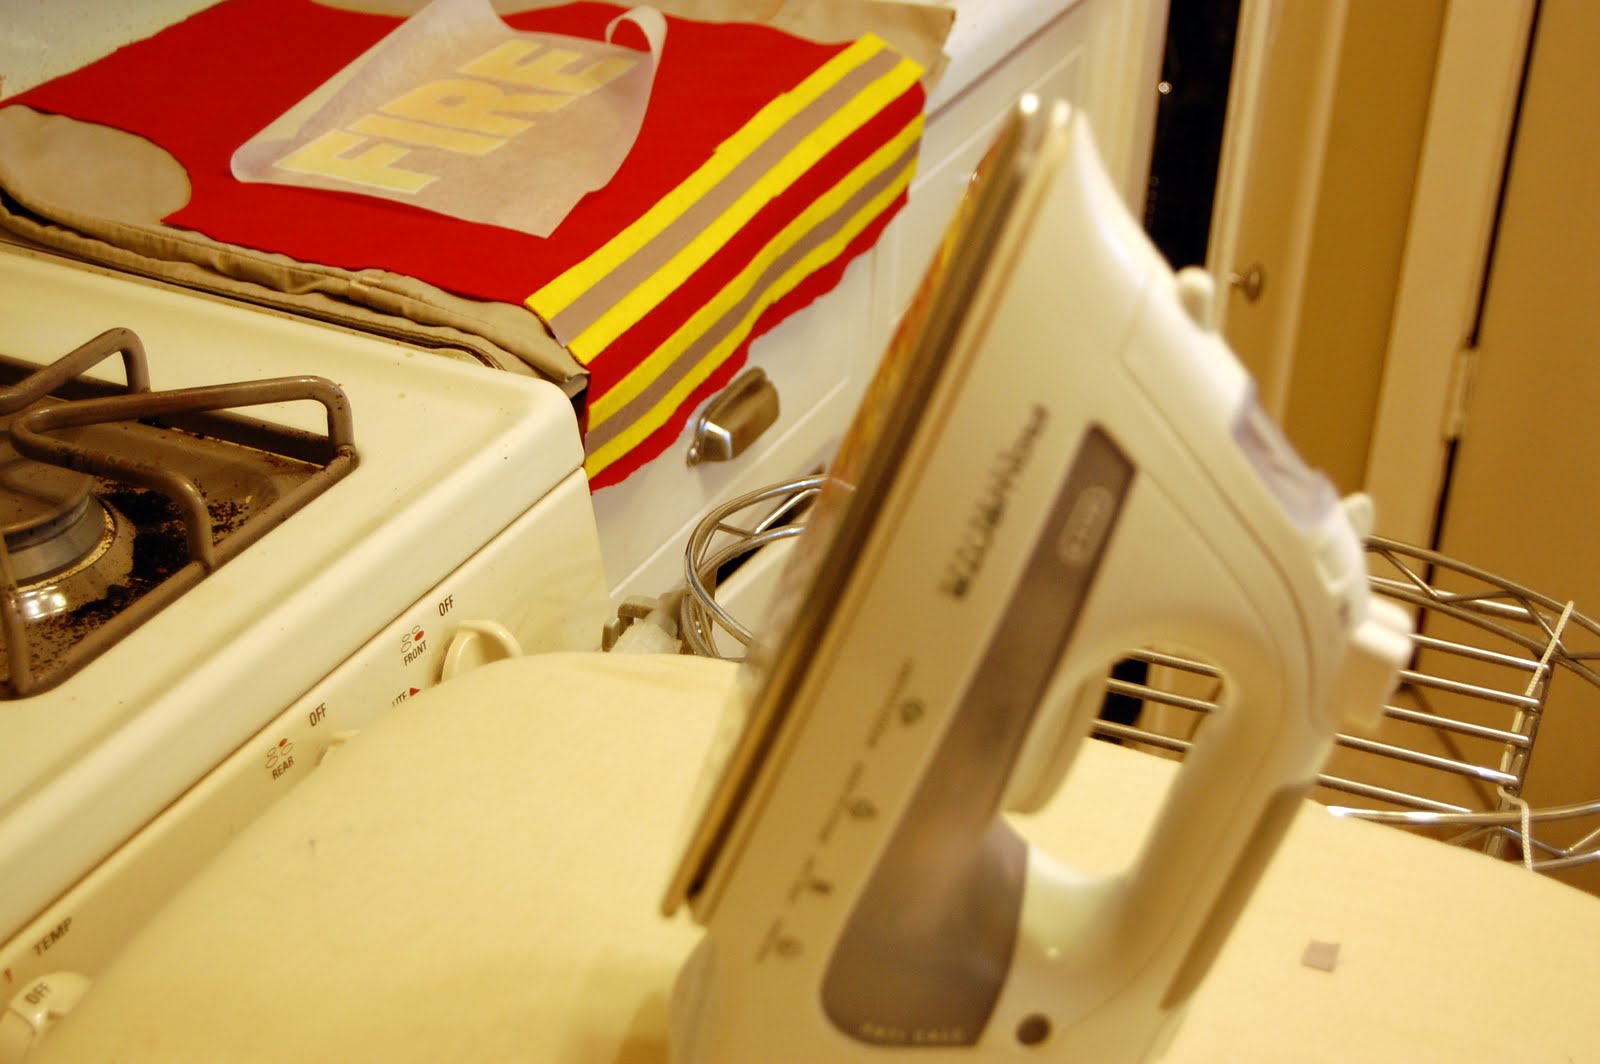
Here's the embellished cowboy vest. I freehanded the western yoke on the back (do a google image search for "western shirt yoke" if you need to) and sewed it over the large back piece.
I made the cow fabric by ironing black felt spots onto white t-shirt fabric, and then sewing it on top of the blue vest piece. You could use black paint, or even a sharpie marker.
The star is ironed on from the inkjet transfer paper.

The Fireman's vest is pretty simple - just the stripes on the bottom, and the iron-on decals.

OK, we're ready to sew this thing together.
Place the red front & back, right sides together, & sew the shoulder seams. Do the same with the blue.
Lay one side out, then place the other on top, right sides together.


OK! Now we're going to sew around the arm curve on each side. Don't sew down the sides!
Then sew the center front and neck. Don't sew the bottom or sides.


Next, you're going to turn the thing right-side out THROUGH THE SHOULDERS.
Yep, you read that right.

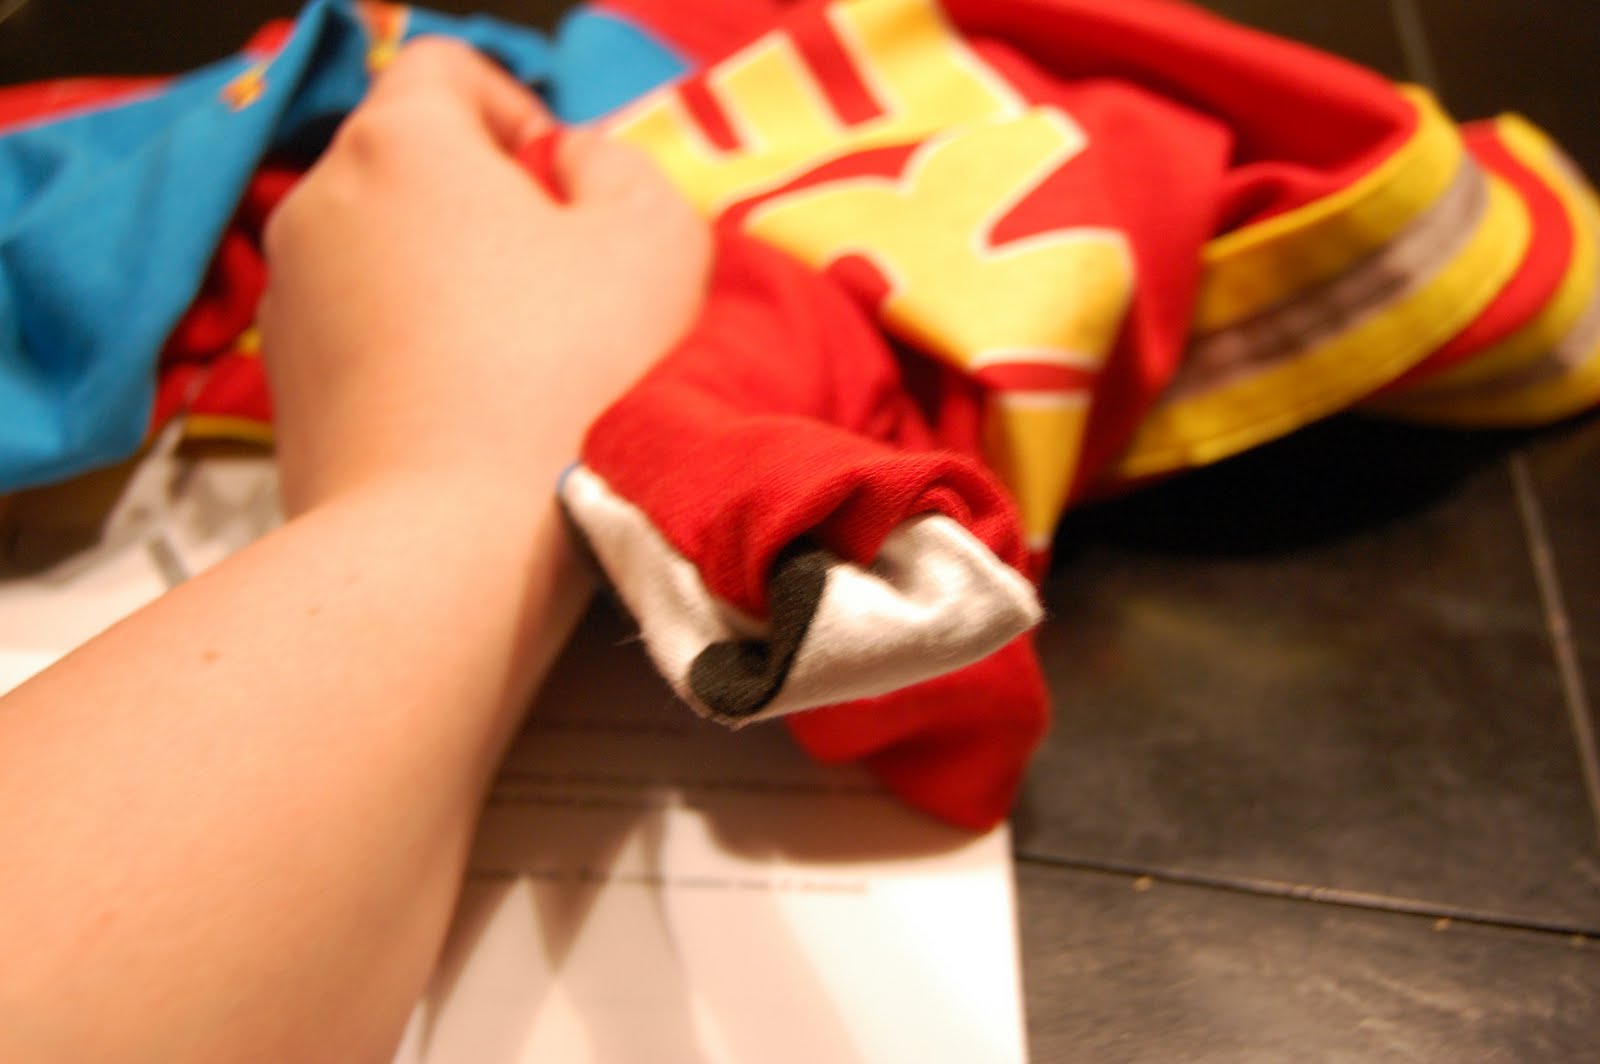


Put the red front & red back right sides together, and maneuver the blue piece out of the way.


I stuck a little star on the center back. I have five packages of iron-on stars. Why? I do not know.


|
| completed fireman side |

I might add a velcro closure. I might not.
The Shark is a 4T-5T, so you can get an idea of the size of the vest here. Of course, you could always make it a little bigger or smaller.

Give it a try! It was really fun to get to do so much embellishment on little boy clothes. I'm thinking a train conductor vest is next...


